▪click the link Report generation > Custom reports in the navigation bar.
The available custom reports are displayed in the left-hand bar:
Note: In the left bar and in the detail view on the right, it is displayed when generated reports are overdue (date and time in the Date of the next report box has been exceeded)!
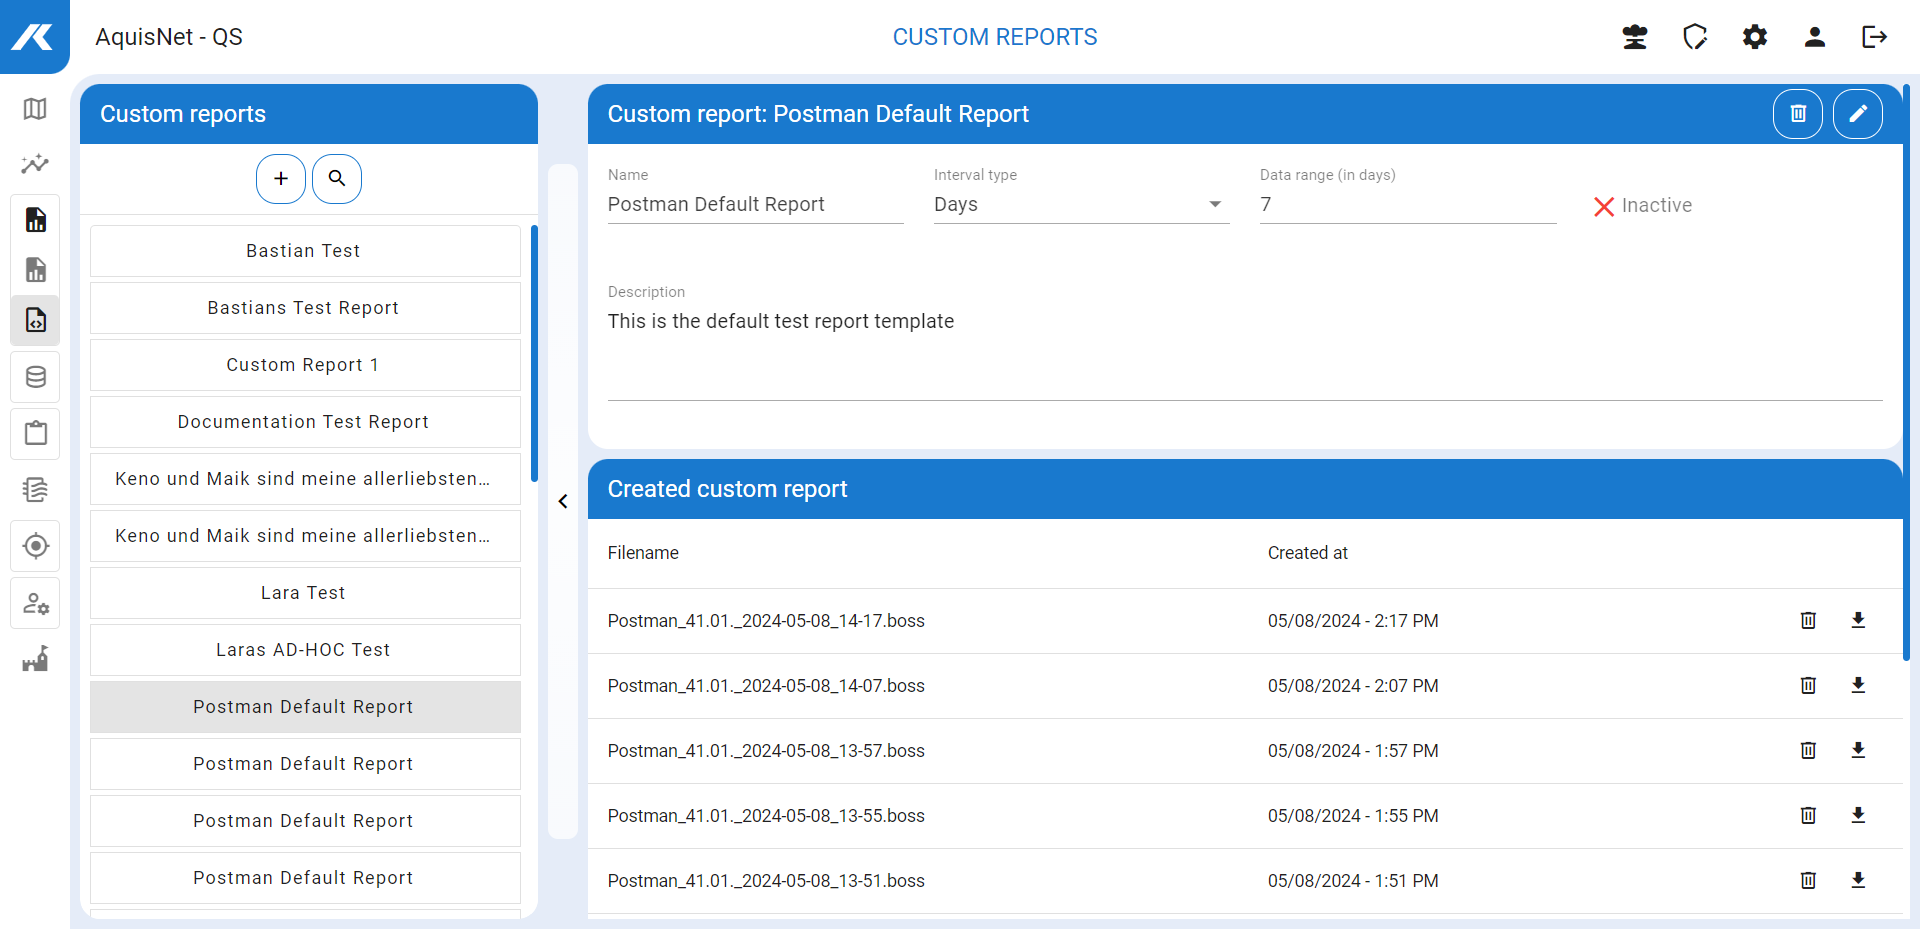
▪Click on the desired report in the left bar.
Its detail data is shown in the upper section on the right.
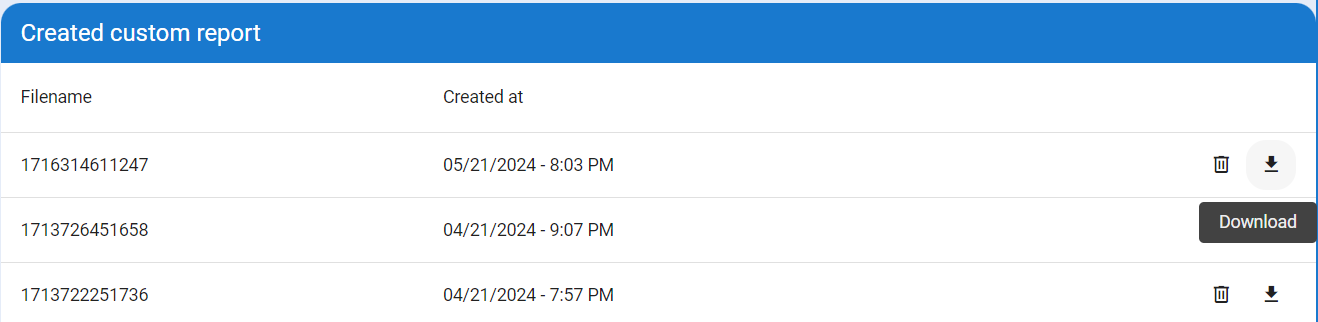
The Created custom report section displays a list of the individual versions of this report.
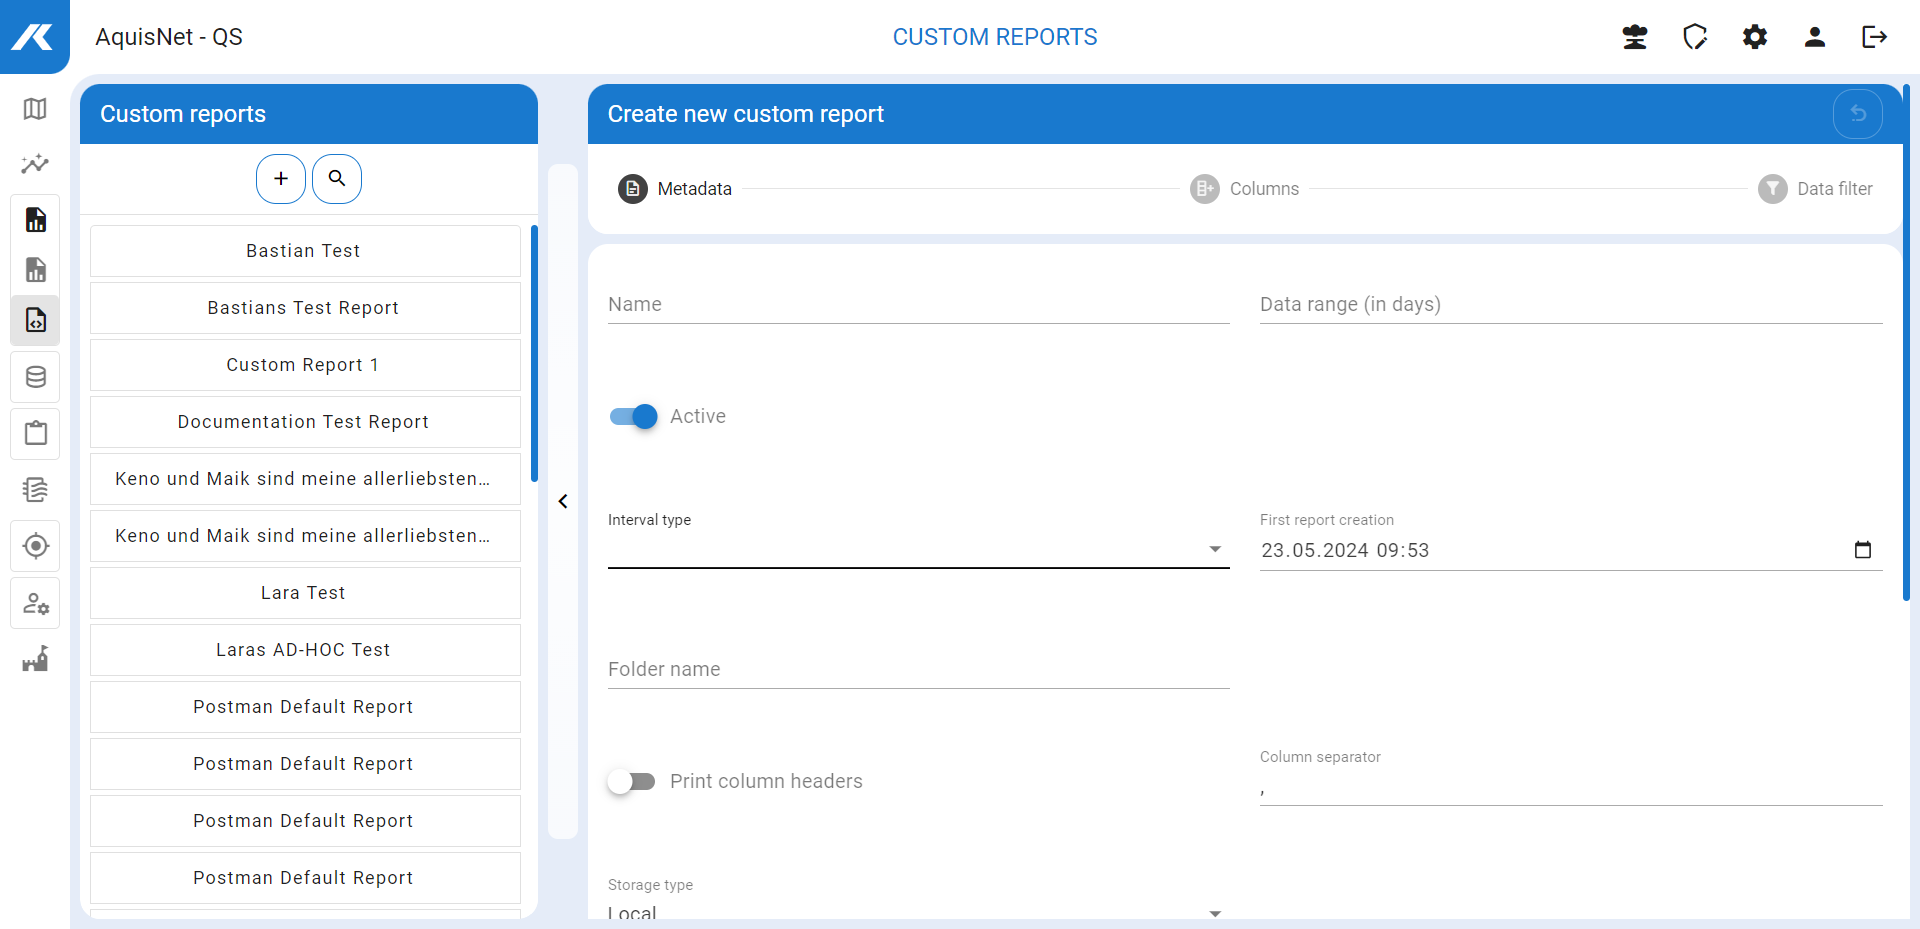
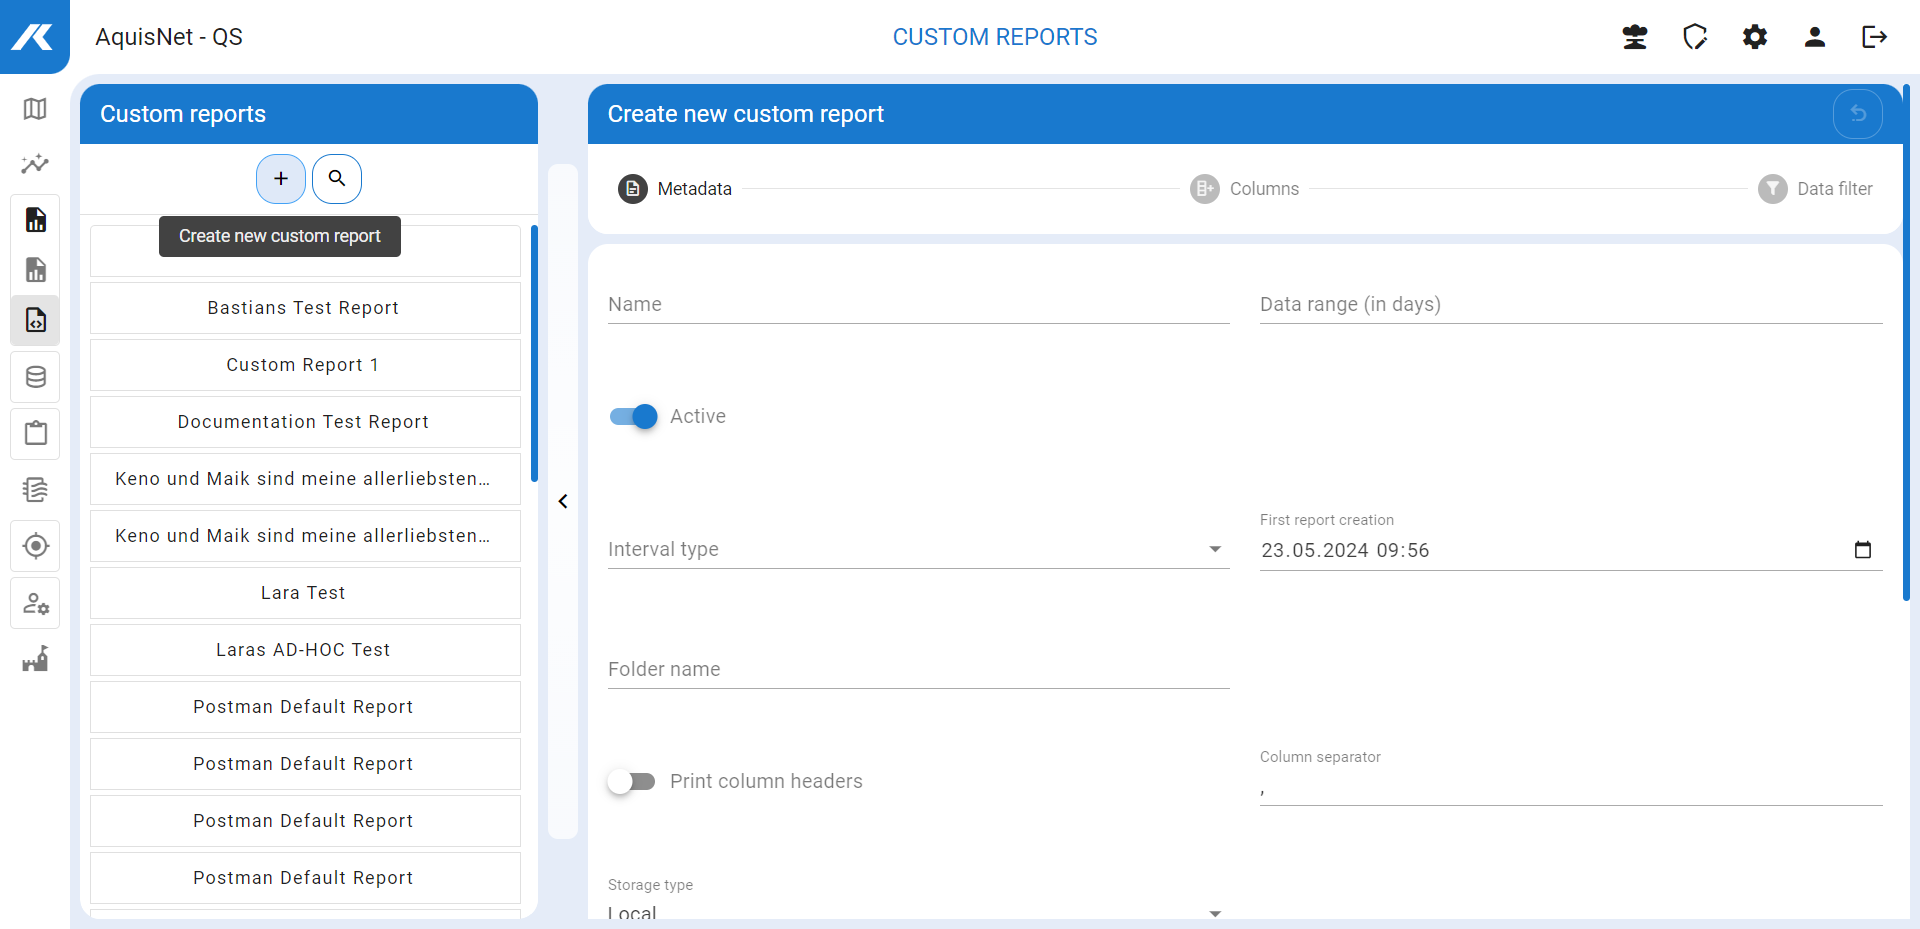
▪Click the icon in the left-hand bar with the reports.
The dialog for entering the data for the new report opens. Mandatory fields are highlighted in red.
In this dialog you have the following working possibilities:
Element
Description
Name
Name of the template.
Data period
Specify which time range of data you want to map in the report.
The options for the time unit are minute, hour, day, week, year.
Active/Inactive
Use the slider to specify whether the current report is active or inactive.
Interval length
Report generation cycle, i.e. the interval between two report outputs. You can choose between minutely, hourly, daily, weekly, monthly, yearly, ad hoc.
Note: With Ad hoc, a report is automatically created as soon as the creation status (see above) is active.
You can execute ad hoc custom reports again at any time (see below).
If you select minutes as the interval length, you must select at least 5 as unit. Shorter time units are not possible!
First report creation
Time (date and time) when the report is to be generated for the first time.
Note: This box is automatically filled in when a first report is generated! So you do not have to fill it by manually.
Folder name
Reports must be managed in folders.
Print column headers
Specify here whether or not the column headers are to be listed in the result file (in the report).
Column separator
Specify the column separator for the CSV result file here, as usual with MS Excel.
Storage type
Locally or in the network. Currently only local.
File name template
Enter a free text name.
File name date format
To differentiate between report files with the same name template, the time stamp of the file creation is appended to the name. Select the desired date format here.
Status active/inactive
Use the slider to specify whether the current report is active or inactive.
Description
Optional description of the customised report.
[Next] (to step 2)
Column name
Add further columns to the report. Type in the column title.
Data source
Define the data source for the values in the new column.
Data type
Select a data type from the drop-down list box.
Description
Optional description of the new data column.
[Add]
Click here to add the column you have just defined to the report.
In the lower part of the wizard window, you can filter the data for specific error codes to be included in the report.
Select the desired codes from the drop-down list box.
Note also the relevant information on visualising your time series data; there you will also find a description of how to filter the data by error code group and by the classification systems used.
[Preview]
The report is saved as configured as a CSV file in your Downloads folder. There you can evaluate the report and use it further.
[Create new]
Use this button to create the report.
It is added to the left bar of the existing custom reports.
You can remove entire reports or individual versions of a report.
▪Select the report to be deleted in the left bar.
▪Delete the entire report with on the right in the top section.
▪Alternatively, you can select a single execution of a report in the Created custom reportsection.
▪Then delete them with .
Note: You can only delete templates that are not used by a report!
You get a system message if the template to be deleted is used by reports. You can deactivate the template instead. No further reports will then be created on the basis of the template.

 |
|