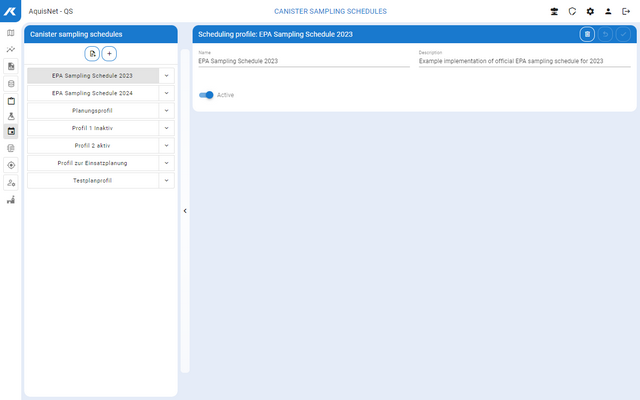
To manage sampling schedules,
▪click the link Canister management > Canister sampling schedule in the navigation bar.
The schedule is shown in the left-hand bar using the existing sampling schedules:

▪Here you can create new sampling schedules, edit and delete existing ones.
 Creating New Sampling Schedules
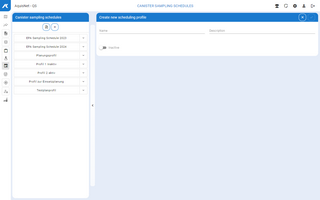
▪Click the  icon in the left-hand bar with the canister sampling schedules. icon in the left-hand bar with the canister sampling schedules. The dialog for entering the data for the new sampling schedules opens.

In this dialog you have the following working possibilities:
▪Confirm your new sampling schedule with  . . |
 Editing Sampling Schedules
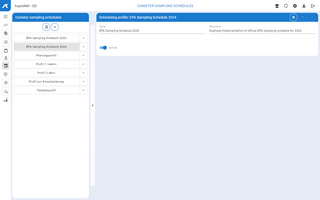
▪Select the desired sampling schedule in the left bar with the canister sampling schedules. You can edit the sampling schedule in the right-hand section of the window.

In this dialog, you have the same working possibilities as when creating a new one.
Here you can also:
|
 Deleting Sampling Schedules
▪Select the desired sampling schedule in the left bar with the canister sampling schedules. ▪Delete the sampling schedule with  . . Note: You can only delete sampling schedules that are not used by a canister sampling schedule!
|
 |
|


