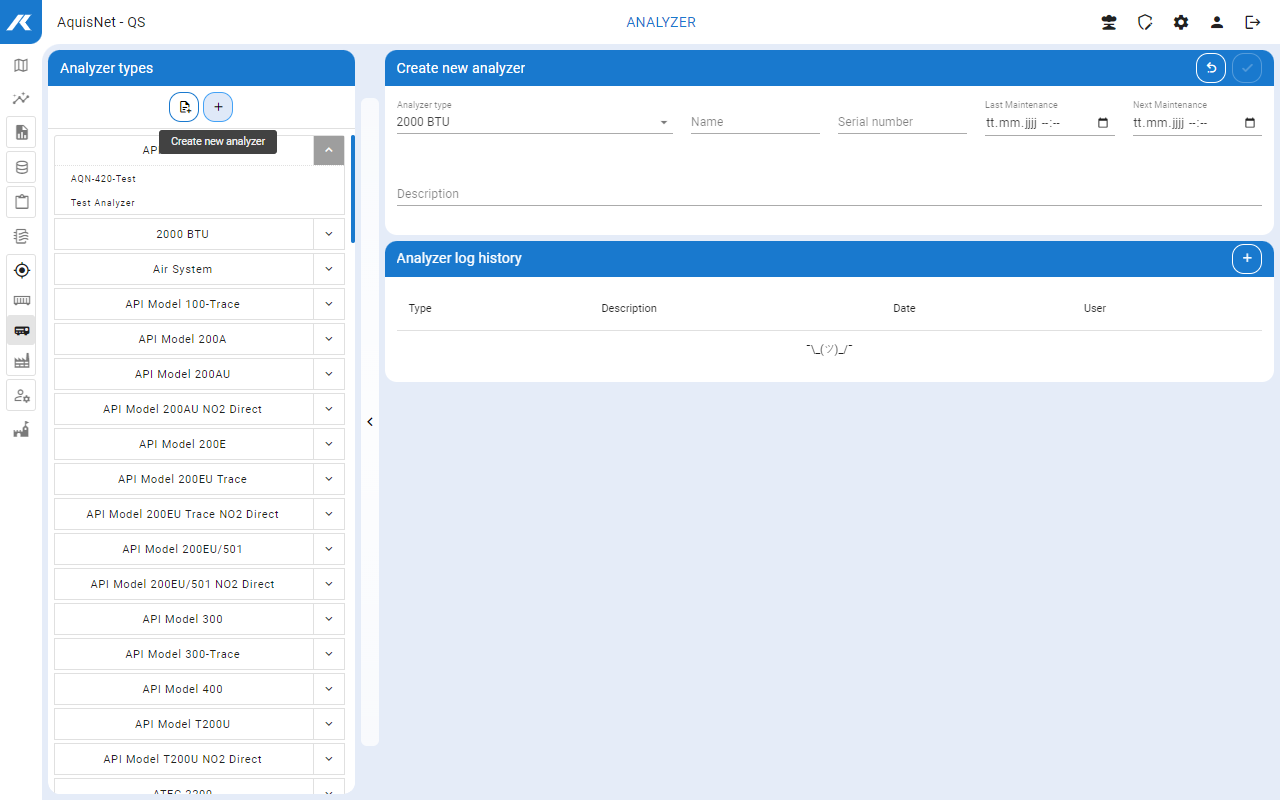
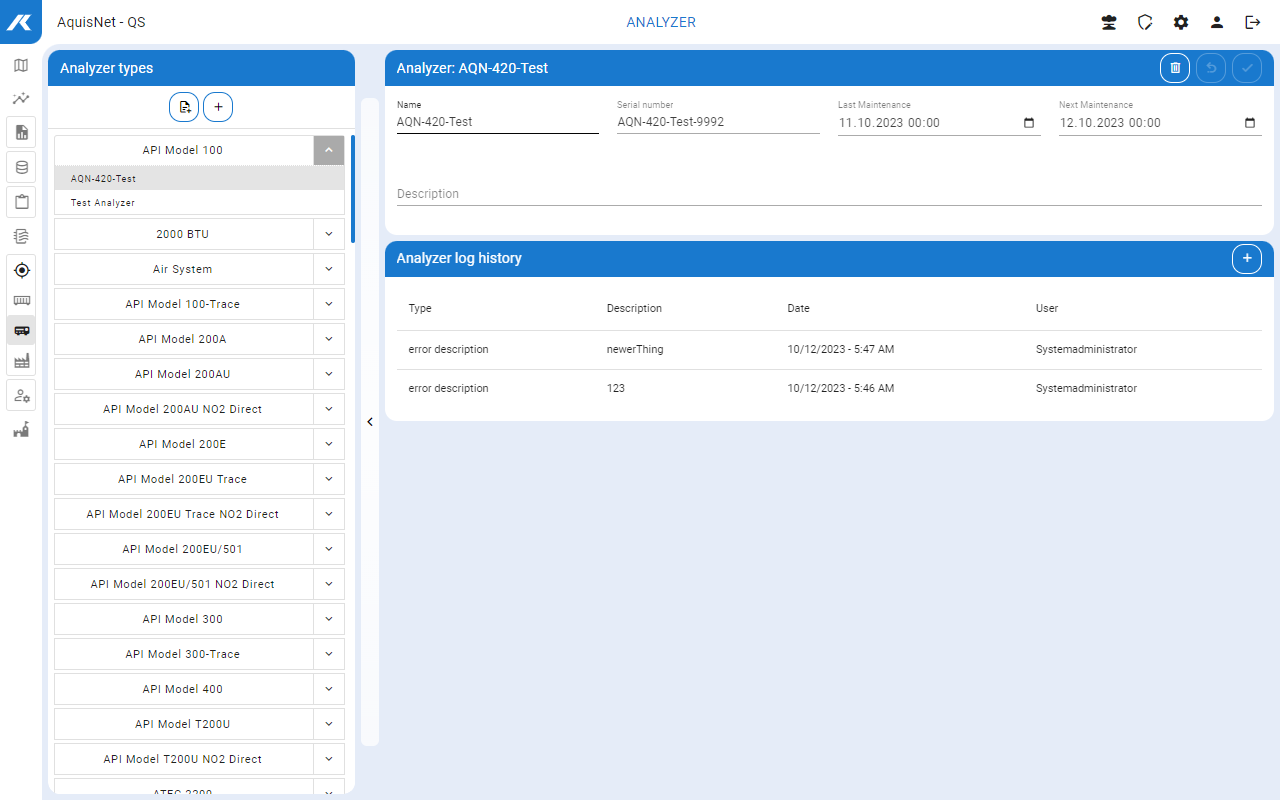
To manage analyzers,
▪click the link Device tracking > Analyzers in the navigation bar.
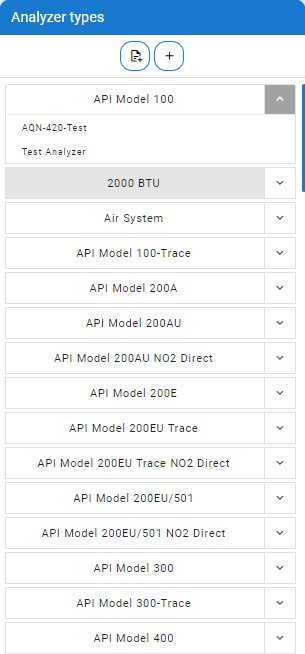
The available analyzers are listed in the left-hand bar, sorted by type:

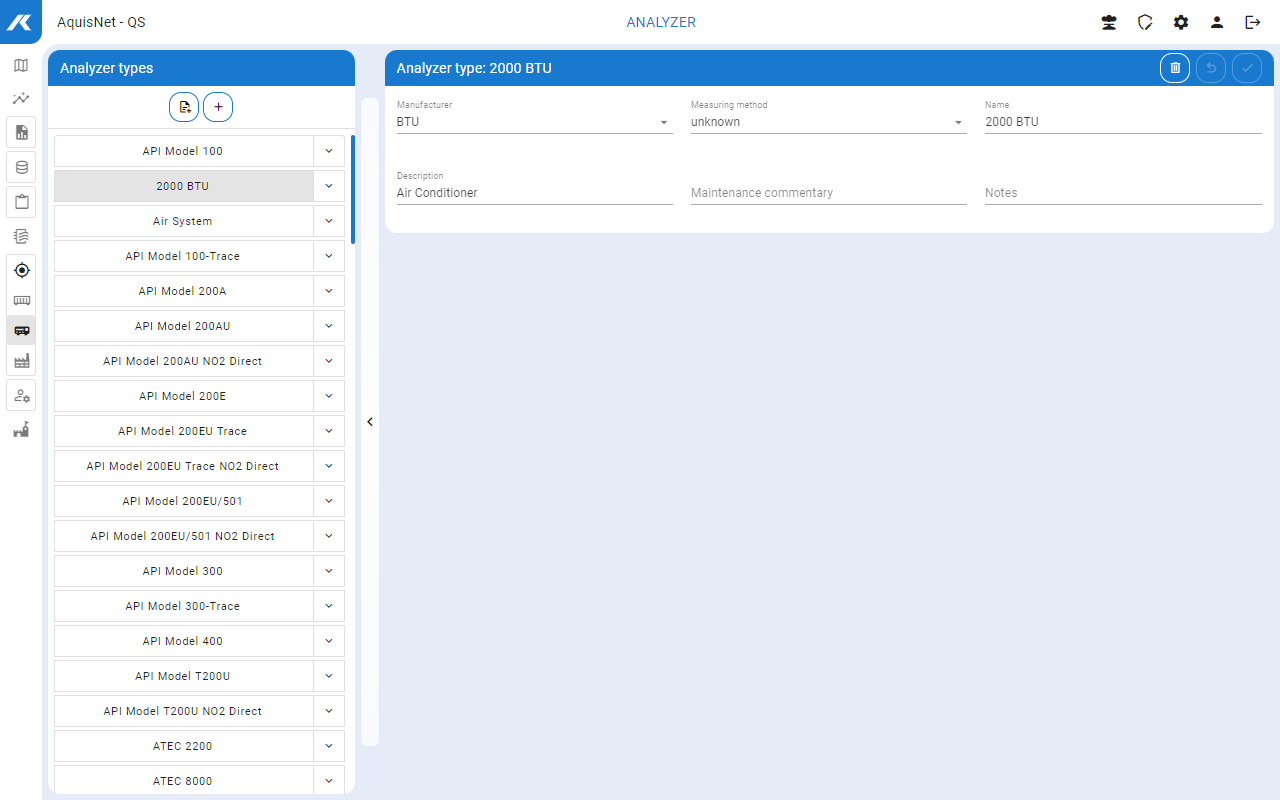
▪Here you can create new analyzers, edit and delete existing ones.
▪Below the analyzer types, the list of analyzers for this type is displayed by clicking the arrow.

Create a new device
▪Click the icon in the left-hand bar with the analyzer types and analyzers. The dialog for entering the data for the new analyzer opens. Mandatory fields are highlighted in red.

In this dialog you have the following working possibilities:
▪Confirm your new analyzer including maintenance history with . The new analyzer is saved in the system and transferred to the tree view.
|
Editing Analyzer
▪Select the desired analyzer in the left bar with the analyzer types. You can edit the data set in the right-hand section of the window.

In this dialog, you have the same working possibilities as when creating a new one.
Here you can also:
|
Deleting Analyzer
▪Select the desired analyzer in the left bar. ▪Delete the analyzer with . The analyzer is deleted from the system after confirmation of the system message. The entry in the tree view is removed.
|